Get started with live stream in 5 minutes
Creating a live stream is simple with api.video. After you create it, you have a variety of options for connecting live video and to begin broadcasting. Check out this short video to get started!
This guide helps you follow along with the video and learn how to set up your live stream with api.video, and then use OBS to broadcast.
api.video supports RTMPS, RTMP, and SRT protocols for live streaming.
API reference
Choose an api.video client
The clients offered by api.video include:
Install
To install your selected client, do the following:
go get github.com/apivideo/api.video-go-clientCreate an account
Before you can start streaming, you need to create an api.video account.
Once you are logged in to the Dashboard, select the environment of your choice (sandbox or production) and copy your API key.
Create a live stream container
The first part of setting up your live stream to broadcast is to create a live stream container. Once you create the container, you can use it for live streaming. Here is the code to create the container:
package main

import (
    "context"
    "fmt"
    "os"
    apivideosdk "github.com/apivideo/api.video-go-client"
)

func main() {
    client := apivideosdk.ClientBuilder("YOUR_API_TOKEN").Build()
    // if you rather like to use the sandbox environment:
    // client := apivideosdk.SandboxClientBuilder("YOU_SANDBOX_API_TOKEN").Build()

    liveStreamCreationPayload := *apivideosdk.NewLiveStreamCreationPayload("My Live Stream Video") // LiveStreamCreationPayload |


    res, err := client.LiveStreams.Create(liveStreamCreationPayload)

    if err != nil {
        fmt.Fprintf(os.Stderr, "Error when calling `LiveStreams.Create``: %v\n", err)
    }
    // response from `Create`: LiveStream
    fmt.Fprintf(os.Stdout, "Response from `LiveStreams.Create`: %v\n", res)
}
Connect to your live stream container
In this example, we will use OBS Studio, which is an open-source broadcasting application, to manually set up a live stream broadcast.
Set up the streaming service
Open OBS and go to File and then Settings. In the Settings menu, go to Stream.
Next, you have to set up the streaming service provider. With api.video, you have the option to choose between
RTMP,RTMPS, andSRTprotocols for live streaming.For
RTMP, open the dropdown menu for Service, and select Show all. In the resulting list, find api.video. This will set up streaming through api.video's defaultRTMPserver:rtmp://broadcast.api.video/s. You can find the Stream key in the API response you received when you created the live stream container.For
RTMPS, open the dropdown menu for Service, and select Custom. Use this server URL:rtmps://broadcast.api.video:1936/s. You can find the Stream key in the API response you received when you created the live stream container.For
SRT, open the dropdown menu for Service, and select Custom. Use this server URL:srt://broadcast.api.video:6200?streamid={stream_key}and replace{stream_key}with the Stream key in the API response that you received when you created the live stream container.
You can configure your
SRTstream through SRT options, which you can define using this syntax:srt://IP:port?option1=value1&option2=value2. For OBS Studio, the full list of options are those supported by FFmpeg.The most important option is
latency, which is defined in microseconds. The minimum value is 120 ms (latency=120000), lower values will be ignored. Check out OBS Studio's documentation on the topic.Once you've set up the streaming service, apply the changes.
Set a streaming source
Establish a source. In the Sources section for OBS, choose the source that you want to stream. This can be a video capture device, your desktop, or even another application.
Press Start Streaming!
To share your stream, grab the embed URL or the iframe that you received in the API response when you created the live stream container.
All live stream details like your Stream key, the embed URL, and the iframe are also available through the api.video dashboard. Go to the Live streams page, and open the Details of the live stream that you want to share.
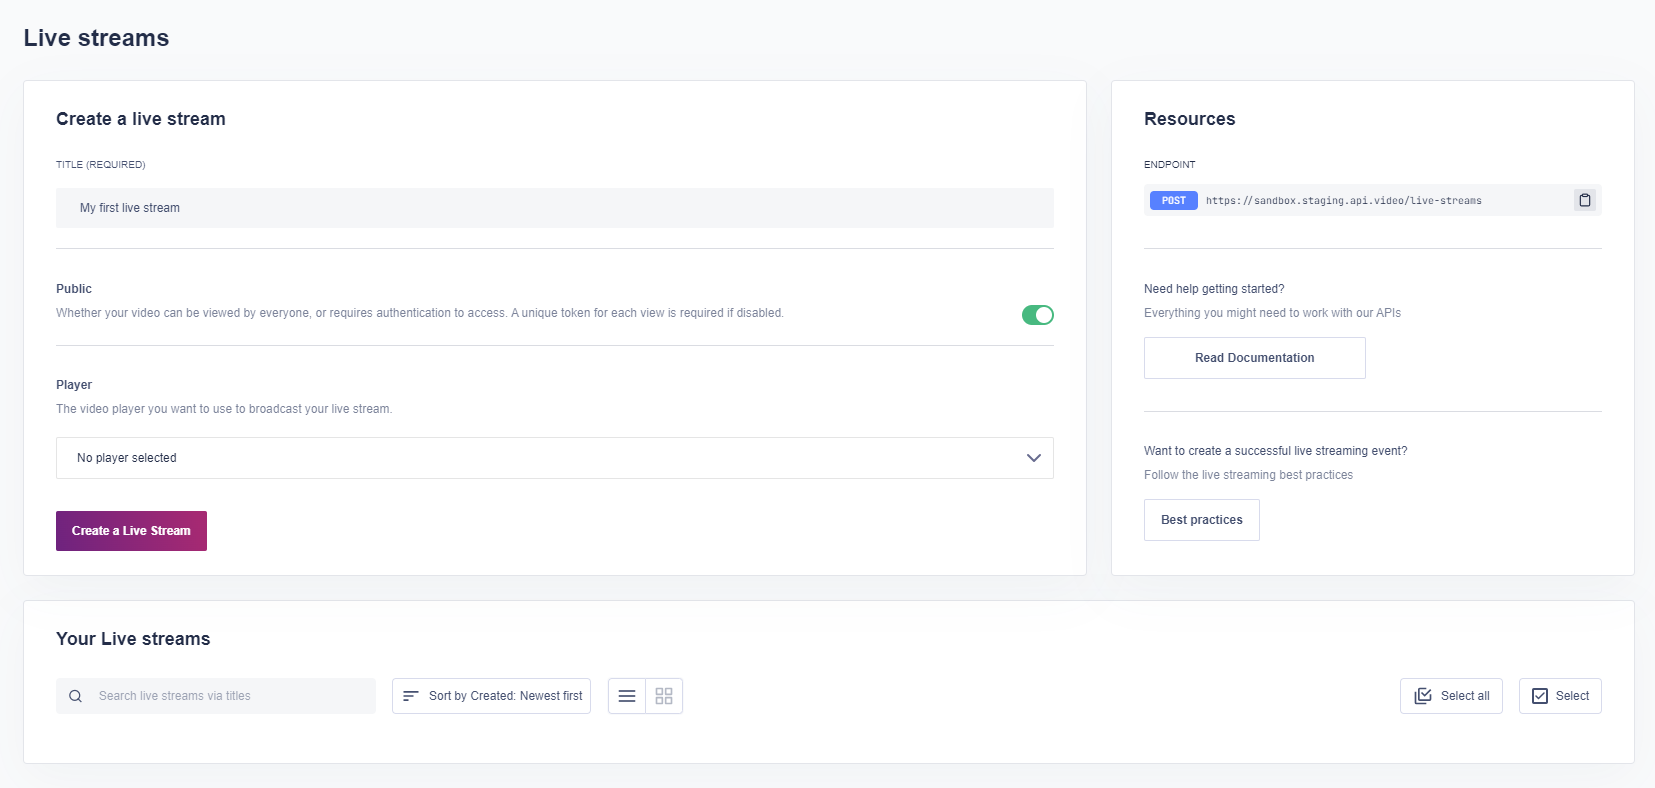
Live stream directly from your dashboard
If you don't want to set up your live stream programmatically, api.video enables you to demo live streaming from the dashboard with the click of a button. Do the following:
Log in to your dashboard
Navigate to Live streams
Click Create a Live Stream
Once the live stream object is created you can click on the Live Stream Details button to view more information about the live stream. You can even start your stream directly from the dashboard.
The live stream object contains all the information you'll need if you choose to broadcast using something else like OBS. You can pause the live stream at any time by clicking pause on the video. If you don't see your live stream start right away, give it a few minutes to get ready.