Getting started with delivery
api.video provides you with powerful tools that enable you to deliver content to your users with great customization and branding.
Get started with api.video player
api.video offers an in-house player that you can customize and utilize to give your users the best experience possible, in the least amount of effort.
The api.video player is provided in various SDKs that you can find in the SDK catalog.
Branding your player
You can bring the player closer to your brand by adding logos and your brand colour scheme to the player. The process is possible from the dashboard and the API. You can navigate to the api.video dashboard and play around with it, however, in this tutorial, we will focus on setting it up through the API.
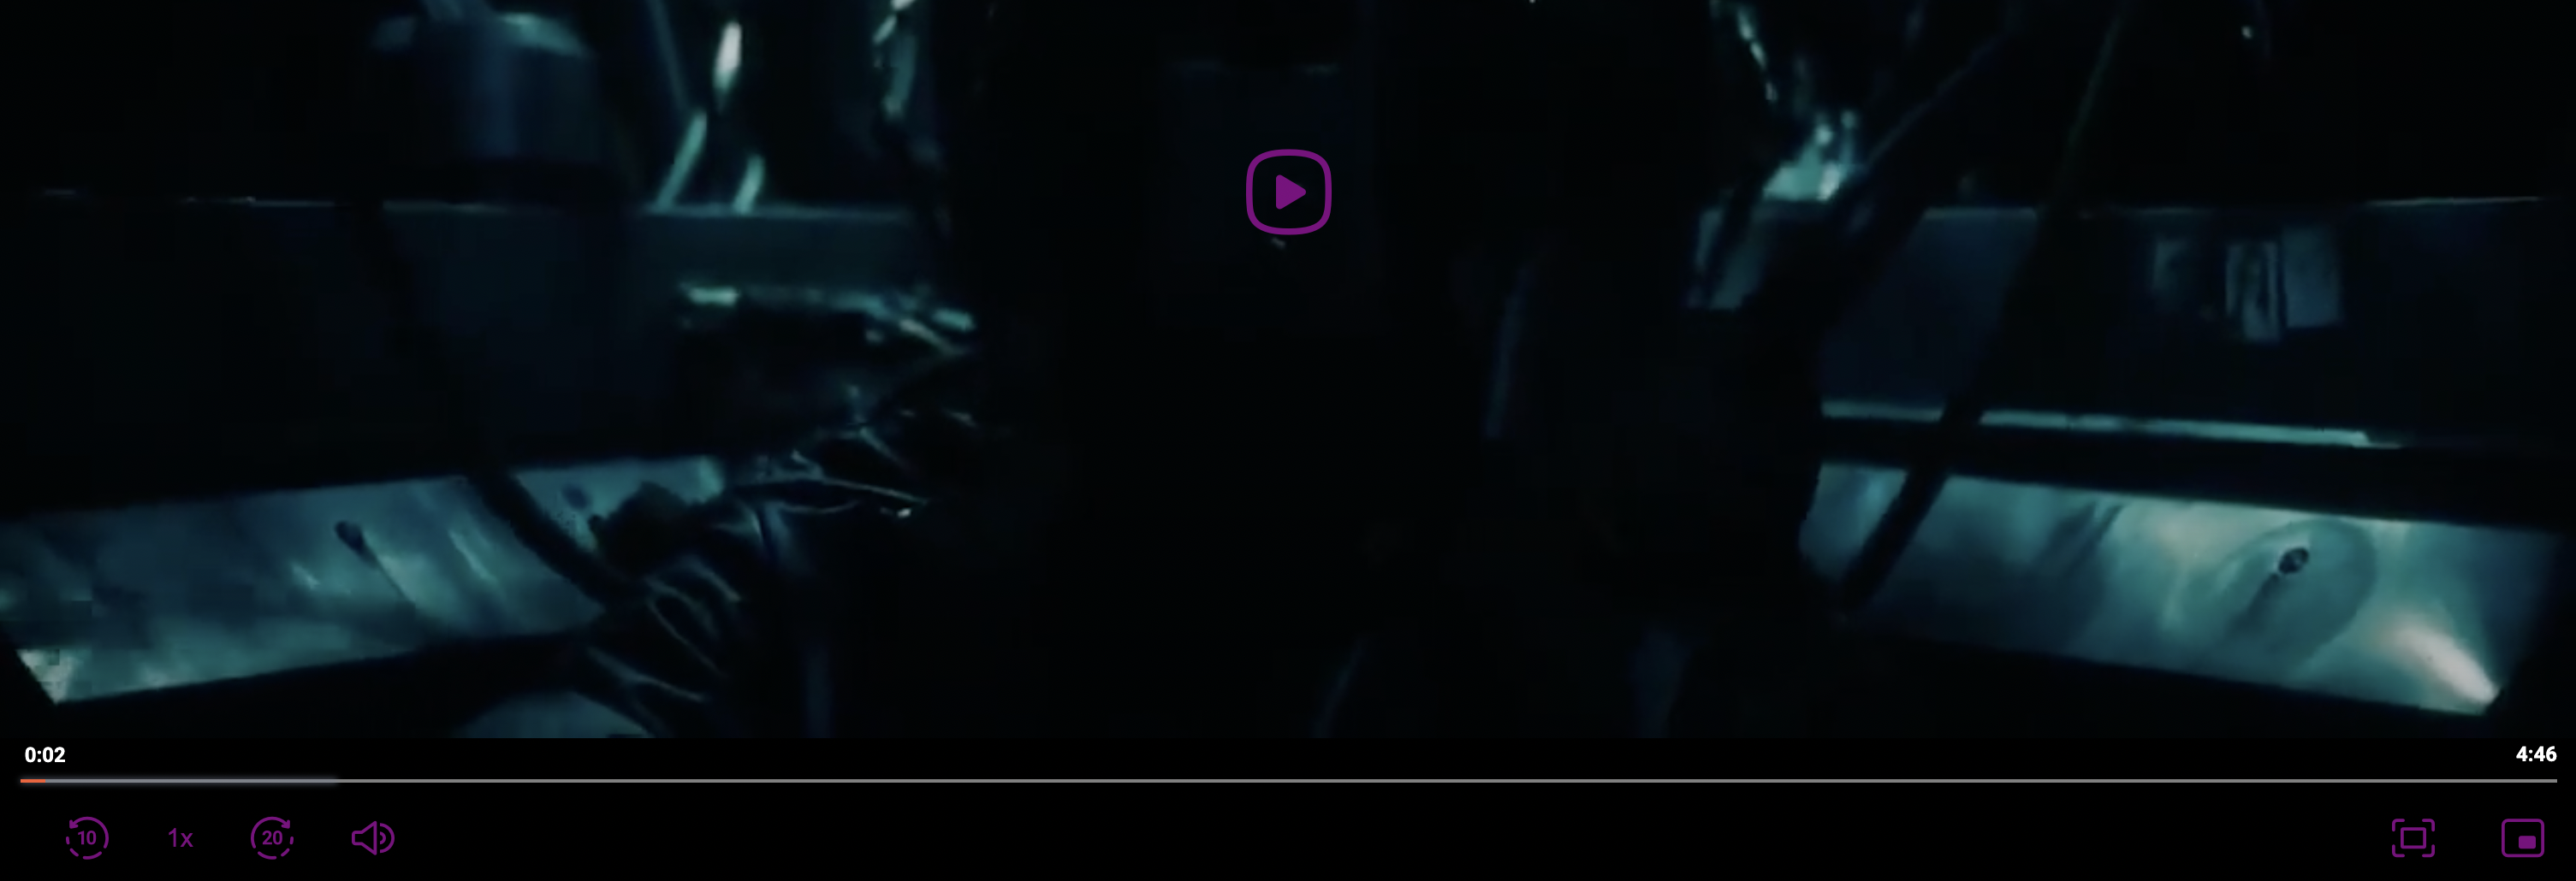
Let's set the player controls color to purple (#800080) and add our branded logo.
Preparation
In this example, we will be using the api.video client libraries, however, if you prefer to use cURL or make the requests yourself, you are welcome to follow along with the API reference documentation.
Adding the api.video client library & initializing
Let's add the api.video client library to our code.
The client library takes your API key, which you can find here. Let's pass it the API key and initialize the client.
If wish to learn more about api.video authentication and how it works, jump over to this page.
Make sure to install the modules / libraries on your environment beforehand.
const ApiVideoClient = require('@api.video/nodejs-client')
import apivideo
from apivideo.api import player_themes_api
from apivideo.model.player_theme_creation_payload import PlayerThemeCreationPayload
from apivideo.model.player_theme import PlayerTheme
package main
import (
"context"
"fmt"
"os"
apivideosdk "github.com/apivideo/api.video-go-client"
)
func main() {
}
import video.api.client.ApiVideoClient;
import video.api.client.api.ApiException;
import video.api.client.api.models.*;
import video.api.client.api.clients.PlayerThemesApi;
import java.util.*;
// First add the "ApiVideo" NuGet package to your project
// Documentation: https://github.com/apivideo/api.video-csharp-client/blob/main/docs/PlayerThemesApi.md#create
using System.Diagnostics;
using ApiVideo.Client;
<?php
// First install the api client: "composer require api-video/php-api-client"
// Documentation: https://github.com/apivideo/api.video-php-client/blob/main/docs/Api/PlayerThemesApi.md#create
require __DIR__ . '/vendor/autoload.php';
$playerThemeCreationPayload = (new \ApiVideo\Client\Model\PlayerThemeCreationPayload())
Creating a player theme and adding a color
We have the code for the client initialization now, and we can proceed with creating a new player theme while adding a different color to our player controls.
const playerThemeCreationPayload = {
link: "rgba(128, 0, 128, 1)", // RGBA color for all controls. Default: rgba(255,
};
const playerTheme = await client.playerThemes.create(playerThemeCreationPayload);
with apivideo.AuthenticatedApiClient(__API_KEY__) as api_client:
# Create an instance of the API class
api_instance = player_themes_api.PlayerThemesApi(api_client)
player_theme_creation_payload = PlayerThemeCreationPayload(
link="rgba(128, 0, 128, 1)",
) # PlayerThemeCreationPayload |
# example passing only required values which don't have defaults set
try:
# Create a player
api_response = api_instance.create(player_theme_creation_payload)
pprint(api_response)
except apivideo.ApiException as e:
print("Exception when calling PlayerThemesApi->create: %s\
" % e)
func main() {
client := apivideosdk.ClientBuilder("YOUR_API_KEY").Build()
// if you rather like to use the sandbox environment:
// client := apivideosdk.SandboxClientBuilder("YOUR_SANDBOX_API_KEY").Build()
playerThemeCreationPayload := *apivideosdk.NewPlayerThemeCreationPayload() // PlayerThemeCreationPayload |
res, err := client.PlayerThemes.Create(playerThemeCreationPayload)
if err != nil {
fmt.Fprintf(os.Stderr, "Error when calling `PlayerThemes.Create``: %v\
", err)
}
// response from `Create`: PlayerTheme
fmt.Fprintf(os.Stdout, "Response from `PlayerThemes.Create`: %v\
", res)
}
public class Example {
public static void main(String[] args) {
ApiVideoClient client = new ApiVideoClient("YOUR_API_KEY");
// if you rather like to use the sandbox environment:
// ApiVideoClient client = new ApiVideoClient("YOUR_SANDBOX_API_KEY", ApiVideoClient.Environment.SANDBOX);
PlayerThemesApi apiInstance = client.playerThemes();
PlayerThemeCreationPayload playerThemeCreationPayload = new PlayerThemeCreationPayload(); //
playerThemeCreationPayload.setLink("rgba(128, 0, 128, 1)"); // RGBA color for all controls.
try {
PlayerTheme result = apiInstance.create(playerThemeCreationPayload);
System.out.println(result);
} catch (ApiException e) {
System.err.println("Exception when calling PlayerThemesApi#create");
System.err.println("Status code: " + e.getCode());
System.err.println("Reason: " + e.getMessage());
System.err.println("Response headers: " + e.getResponseHeaders());
e.printStackTrace();
}
}
}
namespace Example
{
public class createExample
{
public static void Main()
{
var basePath = ApiVideoClient.Client.Environment.SANDBOX;
var apiKey = "YOUR_API_KEY";
var apiInstance = new ApiVideoClient(apiKey,basePath);
var playerThemeCreationPayload = new PlayerThemeCreationPayload(); // PlayerThemeCreationPayload |
var apiPlayerThemesInstance = apiInstance.PlayerThemes();
try
{
// Create a player
PlayerTheme result = apiPlayerThemesInstance.create(playerThemeCreationPayload);
Debug.WriteLine(result);
}
catch (ApiException e)
{
Debug.Print("Exception when calling PlayerThemesApi.create: " + e.Message );
Debug.Print("Status Code: "+ e.ErrorCode);
Debug.Print(e.StackTrace);
}
}
}
}
$playerThemeCreationPayload = (new \ApiVideo\Client\Model\PlayerThemeCreationPayload())
->setLink("rgba(128, 0, 128, 1)") // RGBA color for all controls. Default: rgb
$playerTheme = $client->playerThemes()->create($playerThemeCreationPayload);
The following code will give us this effect:
The response that you should expect will contain the playerId
that we will use in the next step.
{
"backgroundBottom": "rgba(94, 95, 89, 1)",
"backgroundText": "rgba(255, 255, 255, .95)",
"backgroundTop": "rgba(72, 4, 45, 1)",
"createdAt": "2020-01-13T10:09:17+00:00",
"enableApi": false,
"enableControls": false,
"forceAutoplay": false,
"forceLoop": false,
"hideTitle": false,
"link": "rgba(255, 0, 0, .95)",
"linkActive": "rgba(255, 0, 0, .75)",
"linkHover": "rgba(255, 255, 255, .75)",
"playerId": "pl45d5vFFGrfdsdsd156dGhh",
"text": "rgba(255, 255, 255, .95)",
"trackBackground": "rgba(0, 0, 0, 0)",
"trackPlayed": "rgba(255, 255, 255, .95)",
"trackUnplayed": "rgba(255, 255, 255, .1)",
"updatedAt": "2020-01-13T10:09:17+00:00"
}
Adding the logo
After you've created the player theme, you'll get a player theme id in the response. Let's add our company logo, to that player theme. We will utilize the /players/{player_id}/logo
endpoint in order to do that.
First, find the image you would like to add to all of your videos. Make sure to find an image that doesn't exceed 200px x 100px, preferably in PNG format.
const playerId = 'pl45d5vFFGrfdsdsd156dGhh'; // The unique identifier for the player.
const file = './company-logo.jpg'; // The name of the file you want to use for your logo.
const link = 'https://my-company.org'; // A public link that you want to advertise in your player. For example, you could add a link to your company. When a viewer clicks on your logo, they will be taken to this address.
const playerTheme = await client.playerThemes.uploadLogo(playerId, file, link);
<?php
// First install the api client: "composer require api-video/php-api-client"
// Documentation: https://github.com/apivideo/api.video-php-client/blob/main/docs/Api/PlayerThemesApi.md#uploadLogo
require __DIR__ . '/vendor/autoload.php';
$playerId = 'pl45d5vFFGrfdsdsd156dGhh'; // The unique identifier for the player.
$file = new SplFileObject(__DIR__ . '/company-logo.jpg'); // The name of the file you want to use for your logo.
$link = 'https://my-company.org'; // A public link that you want to advertise in your player. For example, you could add a link to your company. When a viewer clicks on your logo, they will be taken to this address.
$playerTheme = $client->playerThemes()->uploadLogo($playerId, $file, $link);
namespace Example
{
public class uploadLogoExample
{
public static void Main()
{
var basePath = ApiVideoClient.Client.Environment.SANDBOX;
var apiKey = "YOUR_API_KEY";
var apiInstance = new ApiVideoClient(apiKey,basePath);
var playerId = 'pl45d5vFFGrfdsdsd156dGhh'; // string | The unique identifier for the player.
var file = BINARY_DATA_HERE; // System.IO.Stream | The name of the file you want to use for your logo.
var link = link_example; // string | A public link that you want to advertise in your player. For example, you could add a link to your company. When a viewer clicks on your logo, they will be taken to this address. (optional)
var apiPlayerThemesInstance = apiInstance.PlayerThemes();
try
{
// Upload a logo
PlayerTheme result = apiPlayerThemesInstance.uploadLogo(playerId, file, link);
Debug.WriteLine(result);
}
catch (ApiException e)
{
Debug.Print("Exception when calling PlayerThemesApi.uploadLogo: " + e.Message );
Debug.Print("Status Code: "+ e.ErrorCode);
Debug.Print(e.StackTrace);
}
}
}
}
public class Example {
public static void main(String[] args) {
ApiVideoClient client = new ApiVideoClient("YOUR_API_KEY");
// if you rather like to use the sandbox environment:
// ApiVideoClient client = new ApiVideoClient("YOUR_SANDBOX_API_KEY", ApiVideoClient.Environment.SANDBOX);
PlayerThemesApi apiInstance = client.playerThemes();
String playerId = "pl45d5vFFGrfdsdsd156dGhh"; // The unique identifier for the player.
File file = new File("/path/to/file"); // The name of the file you want to use for your logo.
String link = "link_example"; // A public link that you want to advertise in your player. For example, you could add a link to your company. When a viewer clicks on your logo, they will be taken to this address.
try {
PlayerTheme result = apiInstance.uploadLogo(playerId, file, link);
System.out.println(result);
} catch (ApiException e) {
System.err.println("Exception when calling PlayerThemesApi#uploadLogo");
System.err.println("Status code: " + e.getCode());
System.err.println("Reason: " + e.getMessage());
System.err.println("Response headers: " + e.getResponseHeaders());
e.printStackTrace();
}
}
}
with apivideo.AuthenticatedApiClient(__API_KEY__) as api_client:
# Create an instance of the API class
api_instance = player_themes_api.PlayerThemesApi(api_client)
player_id = "pl45d5vFFGrfdsdsd156dGhh" # str | The unique identifier for the player.
file = open('/path/to/file', 'rb') # file_type | The name of the file you want to use for your logo.
link = "https://my-company.com" # str | A public link that you want to advertise in your player. For example, you could add a link to your company. When a viewer clicks on your logo, they will be taken to this address. (optional)
# example passing only required values which don't have defaults set
try:
# Upload a logo
api_response = api_instance.upload_logo(player_id, file)
pprint(api_response)
except apivideo.ApiException as e:
print("Exception when calling PlayerThemesApi->upload_logo: %s\n" % e)
# example passing only required values which don't have defaults set
# and optional values
try:
# Upload a logo
api_response = api_instance.upload_logo(player_id, file, link=link)
pprint(api_response)
except apivideo.ApiException as e:
print("Exception when calling PlayerThemesApi->upload_logo: %s\n" % e)
func main() {
client := apivideosdk.ClientBuilder("YOUR_API_KEY").Build()
// if you rather like to use the sandbox environment:
// client := apivideosdk.SandboxClientBuilder("YOUR_SANDBOX_API_KEY").Build()
playerId := "pl45d5vFFGrfdsdsd156dGhh" // string | The unique identifier for the player.
file := os.NewFile(1234, "some_file") // *os.File | The name of the file you want to use for your logo.
link := "link_example" // string | A public link that you want to advertise in your player. For example, you could add a link to your company. When a viewer clicks on your logo, they will be taken to this address.
res, err := client.PlayerThemes.UploadLogoFile(playerId, file)
// you can also use a Reader instead of a File:
// client.PlayerThemes.UploadLogo(playerId, fileName, fileReader)
if err != nil {
fmt.Fprintf(os.Stderr, "Error when calling `PlayerThemes.UploadLogo``: %v\
", err)
}
// response from `UploadLogo`: PlayerTheme
fmt.Fprintf(os.Stdout, "Response from `PlayerThemes.UploadLogo`: %v\
", res)
}
After you've added the image, it will look similar to this:
Assign the theme to a video
In order for the theme to apply by default when you play a video, you need to make sure that you assign the theme to a video. With the same client library, we can add a theme to a video that was already uploaded, or you can apply the theme as soon as you create the video object.
Let's assume that we are updating an existing video:
// First install the "@api.video/nodejs-client" npm package
// Documentation: https://github.com/apivideo/api.video-nodejs-client/blob/main/doc/api/VideosApi.md#update
const client = new ApiVideoClient({ apiKey: "YOUR_API_KEY" });
const videoId = 'vi4k0jvEUuaTdRAEjQ4Jfrgz'; // The video ID for the video you want to update.
// define the value you want to update
const videoUpdatePayload = {
playerId: "pl45d5vFFGrfdsdsd156dGhh", // The unique ID for the player you want to
};
const updatedVideo = await client.videos.update(videoId, videoUpdatePayload);
<?php
// First install the api client: "composer require api-video/php-api-client"
// Documentation: https://github.com/apivideo/api.video-php-client/blob/main/docs/Api/VideosApi.md#update
require __DIR__ . '/vendor/autoload.php';
$client = new \ApiVideo\Client\Client(
'https://ws.api.video',
'YOUR_API_KEY',
new \Symfony\Component\HttpClient\Psr18Client()
);
$videoId = 'vi4k0jvEUuaTdRAEjQ4Jfrgz'; // The video ID for the video you want to update.
$client->videos()->update($videoId, (new \ApiVideo\Client\Model\VideoUpdatePayload())
->setPlayerId("pl45d5vFFGrfdsdsd156dGhh") // The unique ID for the player you want
# Enter a context with an instance of the API client
with apivideo.AuthenticatedApiClient(__API_KEY__) as api_client:
# Create an instance of the API class
api_instance = videos_api.VideosApi(api_client)
video_id = "vi4k0jvEUuaTdRAEjQ4Jfrgz" # str | The video ID for the video you want to delete.
video_update_payload = VideoUpdatePayload(
player_id="pl45d5vFFGrfdsdsd156dGhh",
) # VideoUpdatePayload |
# example passing only required values which don't have defaults set
try:
# Update a video
api_response = api_instance.update(video_id, video_update_payload)
pprint(api_response)
except apivideo.ApiException as e:
print("Exception when calling VideosApi->update: %s\
" % e)
func main() {
client := apivideosdk.ClientBuilder("YOUR_API_KEY").Build()
// if you rather like to use the sandbox environment:
// client := apivideosdk.SandboxClientBuilder("YOUR_SANDBOX_API_KEY").Build()
videoId := "vi4k0jvEUuaTdRAEjQ4Jfrgz" // string | The video ID for the video you want to delete.
videoUpdatePayload := *apivideosdk.NewVideoUpdatePayload() // VideoUpdatePayload |
res, err := client.Videos.Update(videoId, videoUpdatePayload)
if err != nil {
fmt.Fprintf(os.Stderr, "Error when calling `Videos.Update``: %v\
", err)
}
// response from `Update`: Video
fmt.Fprintf(os.Stdout, "Response from `Videos.Update`: %v\
", res)
}
namespace Example
{
public class updateExample
{
public static void Main()
{
var basePath = ApiVideoClient.Client.Environment.SANDBOX;
var apiKey = "YOUR_API_KEY";
var apiInstance = new ApiVideoClient(apiKey,basePath);
var videoId = 'vi4k0jvEUuaTdRAEjQ4Jfrgz'; // string | The video ID for the video you want to delete.
var videoUpdatePayload = new VideoUpdatePayload(); // VideoUpdatePayload |
var apiVideosInstance = apiInstance.Videos();
try
{
// Update a video
Video result = apiVideosInstance.update(videoId, videoUpdatePayload);
Debug.WriteLine(result);
}
catch (ApiException e)
{
Debug.Print("Exception when calling VideosApi.update: " + e.Message );
Debug.Print("Status Code: "+ e.ErrorCode);
Debug.Print(e.StackTrace);
}
}
}
}
public class Example {
public static void main(String[] args) {
ApiVideoClient client = new ApiVideoClient("YOUR_API_KEY");
// if you rather like to use the sandbox environment:
// ApiVideoClient client = new ApiVideoClient("YOUR_SANDBOX_API_KEY", ApiVideoClient.Environment.SANDBOX);
VideosApi apiInstance = client.videos();
String videoId = "vi4k0jvEUuaTdRAEjQ4Jfrgz"; // The video ID for the video you want to delete.
VideoUpdatePayload videoUpdatePayload = new VideoUpdatePayload(); //
videoUpdatePayload.setPlayerId("pl45d5vFFGrfdsdsd156dGhh"); // The unique ID for the player you want to associate with your video.
try {
Video result = apiInstance.update(videoId, videoUpdatePayload);
System.out.println(result);
} catch (ApiException e) {
System.err.println("Exception when calling VideosApi#update");
System.err.println("Status code: " + e.getCode());
System.err.println("Reason: " + e.getMessage());
System.err.println("Response headers: " + e.getResponseHeaders());
e.printStackTrace();
}
}
}
Now we've applied our theme to this specific video, and we can implement the api.video player on our frontend.
Implementing the player
After we branded our player, we can now implement the player on the frontend. In this example, we'll use the React player, however, you can use any of the available player SDKs.
Let's first install React and add the React Player SDK from api.video
$ npm install --save @api.video/react-player
Once we have the React project and the React Player SDK added to the project, we can dive into our code and add the video component:
import ApiVideoPlayer from '@api.video/react-player'
// your code
<ApiVideoPlayer video={{id: "vi5fv44Hol1jFrCovyktAJS9"}} style={{
width: '500px',
height: '500px',
}} />
Now you can see your awesome branding in action!