Get Started In 5 Minutes
In order to get the concept of building on top of api.video, we've created a get started guide that will show you the concept of building a video uploader and a video listing on the same page.
You can either follow the video that you see below or you can follow the text guide, which also has examples not only in Node.js but also in Python and Go.
Get started in 5 minutes with api.video (Next.js + Node.js video)
Sign up with api.video
If you haven't done so already, you will need to signup with api.video to get the API key and access to the sandbox account.
Navigate to the Dashboard and register with your Google account, Github, email, or any otheroptions that you prefer.
Get the API key from the dashboard
All you need now is to get your API key from the dashboard. Navigate to the API keys page and grab your API key from there.
API Key Security
Make sure to reach our security recommendation to avoid exposing your API key and causing a security breach on your account. You can find the security best practices here
Clone the front-end repo
In order to save you some time, we've prepared a front-end on Next.js that will include all of the buttons and logic. As a fist step, clone this repo from Github:
$ git clone https://github.com/apivideo/get-started-video-uploader.gitAfter you cloned the Next.js frontend, we need to install the dependencies, navigate to the cloned directory
$ cd get-started-video-uploaderInstall the dependencies
$ npm installNow we can run it and test it out
$ npm run devThe server will be running on localhost:3000 by default
Changing the default port
You can change the default port of 3000 to something of your liking by editing the package.json file and adding the custom port like so:
"scripts": {
"dev": "next -p 3002",
"build": "next build",
"start": "next start -p 3002",
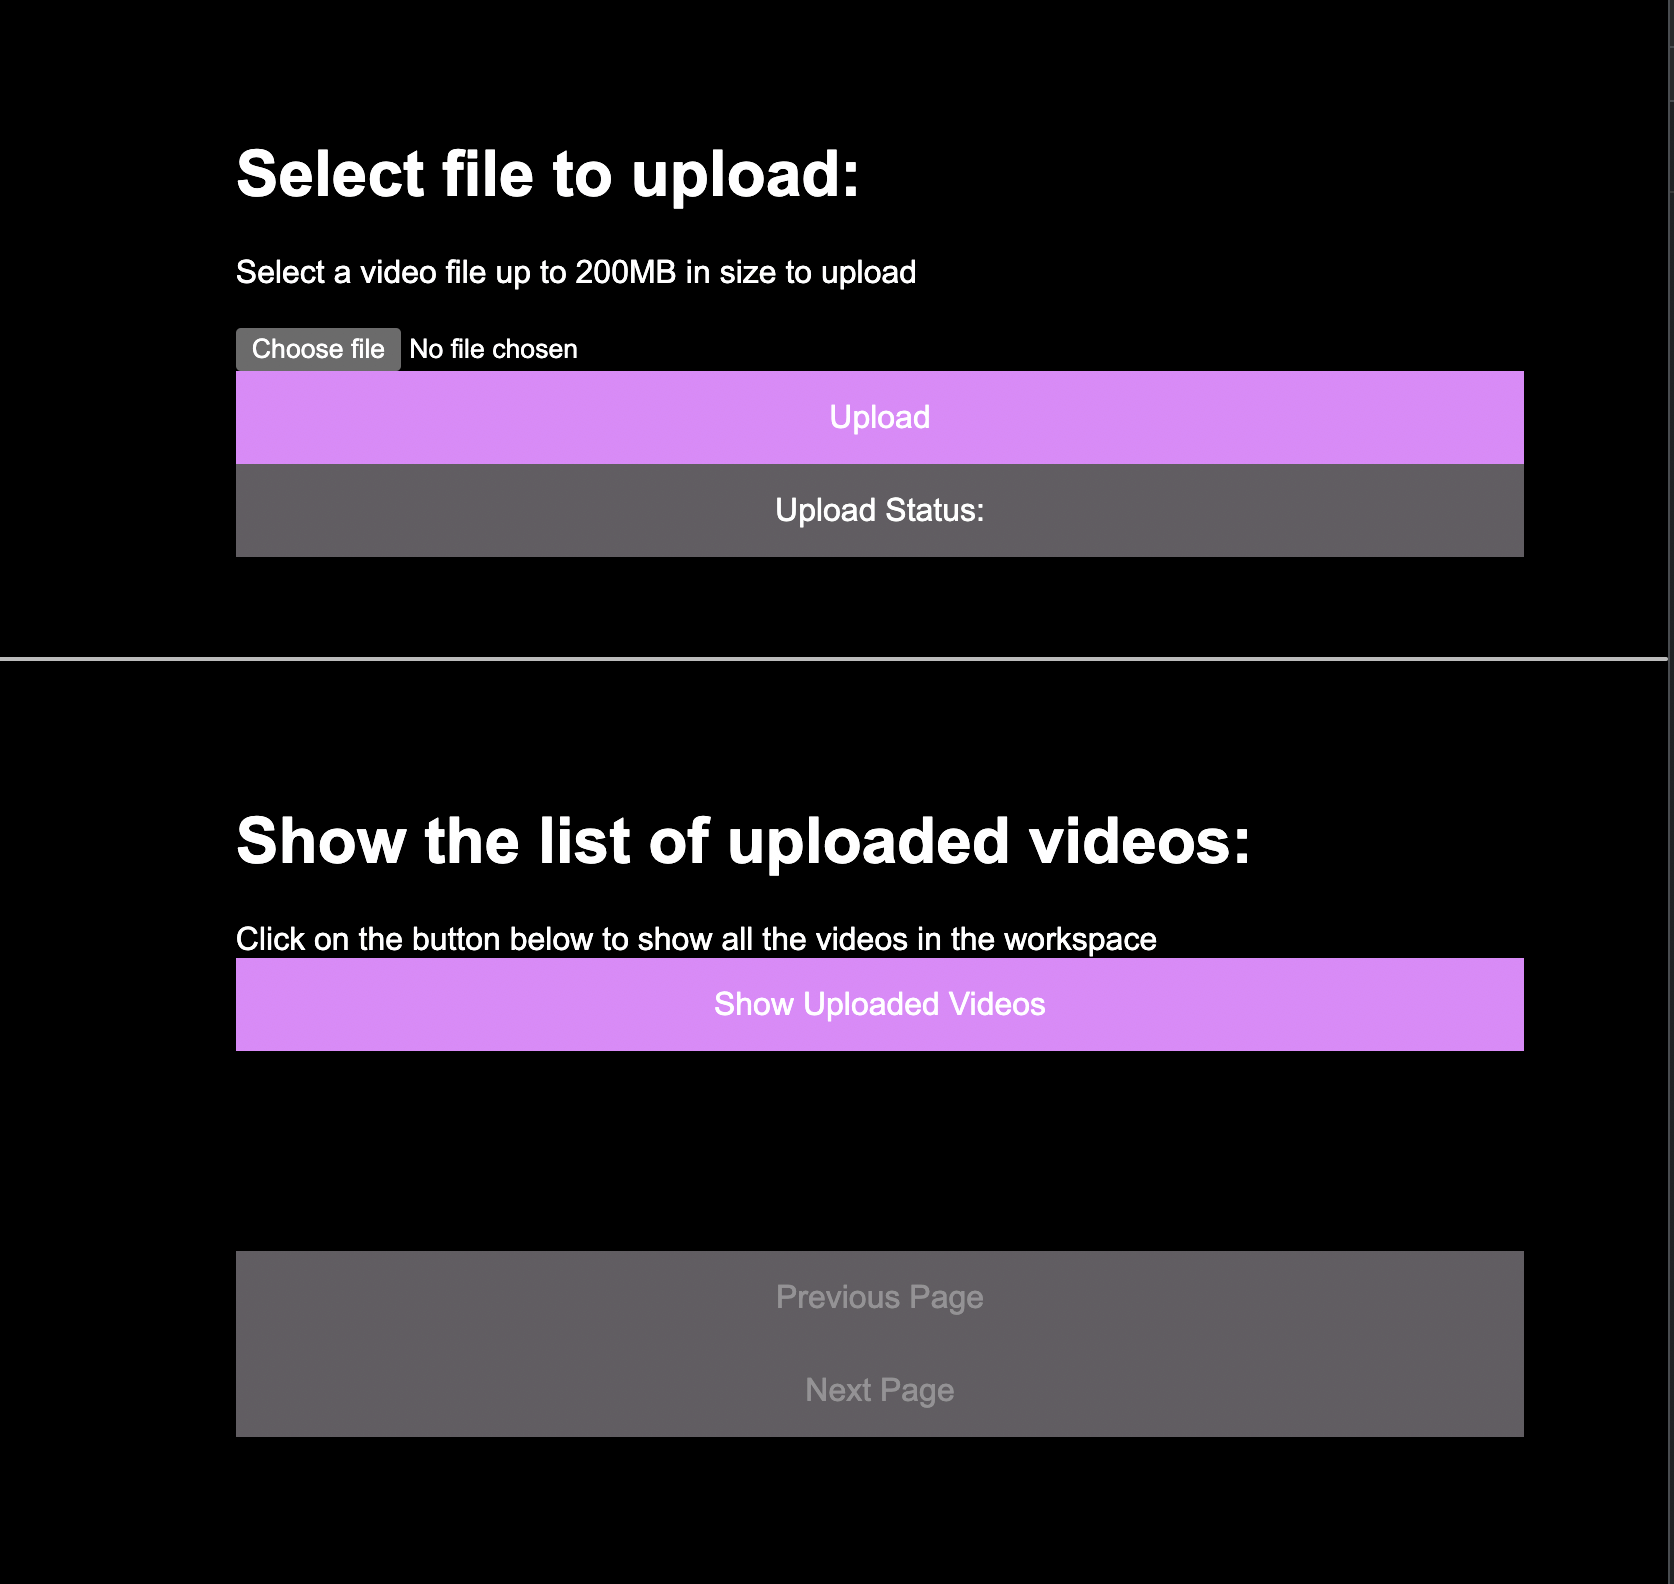
},When you navigate to http://localhost:3000 with your browser, you should get this screen:
If you edit src/pages/index.tsx you'll find the whole logic of the frontend. The thing you are looking for is the serverUrl. This is where you can point the requests to your server, you'll be able to configure the port or the whole url to your server url (by default it's pointing to http://localhost:5500)
// src/pages/index.tsx
export default function Home() {
  const serverUrl = 'http://localhost:{port}';
Building out the server
Understanding the endpoints
On the frontend, we are making a request to 3 main endpoints from the server. If you edit src/pages/index.tsx again you can find these values:
Uploading a video
// Uploading videos - src/pages/index.tsx
axios.post(`${serverUrl}/upload`, data).then( async res => {
Check upload status
// Getting video status - src/pages/index.tsx
const checkUploadStatus = async (videoId: string) => {
    return axios.post(`${serverUrl}/uploadStatus`, {videoId: videoId}).then( res => {
List all videos on the workspace
// Listing Videos - src/pages/index.tsx
const ListVideoPage = (page: number) => {
    axios.post(`${serverUrl}/videos`, {page: page}).then(res => {
Server Hello World
Building the backend with the language of your choice
This tutorial is designed to get you started with our client libraries, you can choose which client library you want to work with. For each example, please make sure to choose the language of your choice in the code snippet pane.
Now we need to build a server that will accept the requests from our frontend. Let's build a small application sever that is taking requests on port 5500
$ mkdir apivideo-node-server
$ cd apivideo-node-server
$ npm init
$ touch index.jsconst express = require('express')
const app = express()
const port = 5500
app.post('/', (req, res) => {
res.send('Hello World!')
})
app.listen(port, () => {
console.log(`Example app listening on port ${port}`)
})Now we have a server that takes post requests on port 5500.
The next step is to utilize the client library that api.video is offering in order to handle the requests that the front end is giving us.
Installing dependencies
For the server, we will need to install all the dependent libraries including the api.video client library. Run the following command in the server app folder.
//express server
$ npm install express --save
// the api.video client library
$ npm install @api.video/nodejs-client --save
// cors needed to make cross domain requests
$ npm install cors --save
// multer will read the file buffer from the request
$ npm install multer --save
// the body-preser function is to parse the incoming form request body
$ npm install body-parser --save
Adding the api.video client library
Let's add the api.video client library to our server code. You can find all the available client libraries here
const express = require('express');
const ApiVideoClient = require('@api.video/nodejs-client')
const app = express()
const port = 5500
api.video client initialization
The client library takes your api key, which you can find here. Let's pass it the api key and initialize the client.
Learn more about Basic Authentication and Bearer Token Authentication.
const apivideoClient = new ApiVideoClient({ apiKey: "replace with your api key" });File handler & CORS
We will add a file handler library that will intake the file stream from the request form. If you are using localhost it's a good idea to add a CORS
const express = require('express');
const ApiVideoClient = require('@api.video/nodejs-client')
const app = express()
const multer = require('multer');
const bodyParser = require('body-parser');
const cors = require('cors')
const port = 5500

let upload = multer({ dest: 'upload' })
app.use(cors())
app.use(bodyParser.json());
api.video Uploader
Creating the video object & uploading the file
In this step, we will need to create a handler for the incoming POST request from the front end. Let's change the endpoint to /upload and add the logic of video object creation. You can find the visual flowchart of video object creation and upload here if you want to understand it a bit better.
In this instance we are referring to the Videos endpoint. First we create a video object. You can find more about the endpoint here
app.post('/upload', upload.single('file'), async (req, res, next) => {
  	// Grab the file from the request
    const file = req.file;
    try {
      	// the video title and description
        const videoCreationPayload = {
            title: "My Video Test in Node",
            Description: "Something I wanted to share",
        }
        // create a video object first
        const video = await apivideoClient.videos.create(videoCreationPayload);
    } catch (error) {
        console.log(error)
    }
    if (!file) {
      const error = new Error('No File')
      error.httpStatusCode = 400
      return next(error)
    }
Next up, after we created the video object, we can now upload the actual video file. So add these lines after the video creation.
// create a video object first
const video = await apivideoClient.videos.create(videoCreationPayload);
// upload the video
const uploadVideoRes = await apivideoClient.videos.upload(video.videoId, file.path)
// Add the response to the frontend request
res.json(uploadVideoRes.videoId);
In this step we are leveraging the upload a video endpoint, this endpoint enables you not only to upload a video, but also to upload a video from a url source, or do a progressive video upload.
Upload status
Let's add the upload status, so we will be able to indicate to the user that the video has been uploaded, or the upload is in progress. Add another POST request handler function that will intake the video id and return the video status
app.post('/uploadStatus', async (req, res) => {
  	// Get the video id from the request
    const videoId = req.body.videoId
    // Get the video status from api.video by video id
    const videoStatus = await apivideoClient.videos.getStatus(videoId)
    res.json(videoStatus)
})
We've leveraged the /status endpoint in this step, you can find more information about the endpoint here
Return the video list to the workspace
The last thing we need to get the list of videos and assets. Just add another request handler that will return a list of 10 videos per page from the workspace
app.post('/videos', async (req, res) => {
    const page = req.body.page
    console.log(page)
    const listOfVideos = await apivideoClient.videos.list({currentPage: page, pageSize: 10});
    res.json(listOfVideos)
})
This steps utilizes the List all videos endpoint. You can also use different filters to retrieve video lists, you can find more information about the endpoint here
Running the server
As we already have the React frontend running on localhost:3000, we will need to run the server on a different port. If you followed the instructions, we've set the server port to 5500 by default and the code you've copied is running the server on port 5500. The only thing left is to run our server. Go to the server app folder and run it
node index.js